
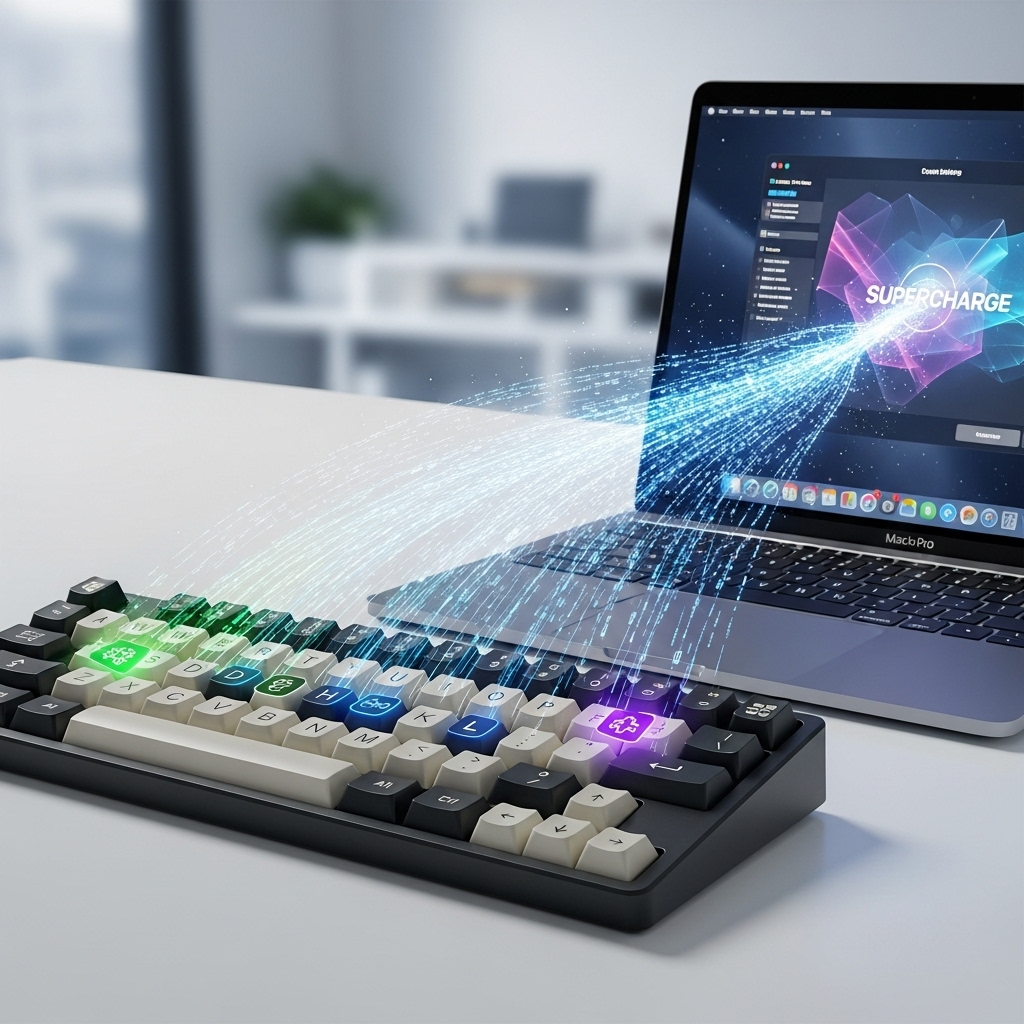
Transform Your Mac Productivity: Using a Spare Keyboard or Numpad as a Macropad in macOS
In the bustling world of digital productivity, every second counts. For macOS users, the pursuit of efficiency often leads to exploring innovative tools and techniques. While dedicated macropads like the Stream Deck are highly praised for their ability to streamline workflows, their price point can be a significant barrier for many. Fortunately, there's a considerably more budget-friendly and equally powerful alternative waiting in your home office: a spare keyboard or even a standalone numpad. This comprehensive guide will walk you through the process of converting these everyday peripherals into potent productivity hubs, allowing you to trigger complex actions and macros with a single keypress, without breaking the bank.
Table of Contents
- Introduction: Why a DIY Macropad?
- Macros vs. Keyboard Shortcuts: Understanding the Difference
- Choosing Your Hardware: Spare Keyboards and Numpads
- Essential Software for Macropad Creation
- Step-by-Step Setup Guide for Your Macropad
- Practical Use Cases for Your Macropad
- Benefits and Limitations of a DIY Macropad
- Conclusion
Introduction: Why a DIY Macropad?
The allure of a macropad is undeniable. Imagine hitting a single button to launch a sequence of applications, paste frequently used text snippets, or execute complex commands in your video editing suite. Dedicated devices like the Elgato Stream Deck offer this functionality in a sleek package, often with customizable LCD keys. However, their cost can range from $150 to $250 or more, which might be prohibitive for users looking for an economical solution. This is where the magic of repurposing comes in. If you have an old keyboard gathering dust in a drawer or a standalone numeric keypad, you already possess the fundamental hardware for a highly effective macropad.
The concept is simple: by combining readily available hardware with intelligent software, you can assign intricate sequences of actions—macros—to individual keys. This isn't just about saving money; it's about unlocking a new level of efficiency and personalization for your macOS workflow. As Apple continues to innovate with powerful chips like those hinted at in the Next-Gen A18 Pro MacBook, optimizing your input methods becomes even more crucial to fully leverage your system's capabilities. A DIY macropad ensures you're always one keypress away from your next productive step.
Macros vs. Keyboard Shortcuts: Understanding the Difference
Before diving into the setup, it's essential to distinguish between keyboard shortcuts and macros, as the terms are often used interchangeably but represent different levels of automation. Keyboard shortcuts are direct mappings: for example, Command+C for copy or Command+V for paste. They typically perform a single, predefined action within an application or the operating system.
Macros, on the other hand, are sequences of actions or commands that can be triggered by a single input (often a keypress or key combination). Think of them as miniature scripts or workflows. A macro could:
- Open a specific application, then a document within it, and finally position your cursor at a certain point.
- Type out your full email address or a standard response.
- Perform a series of clicks and key presses to automate a repetitive task in a browser or creative suite.
- Run a complex script or even trigger an AI-powered assistant, much like how Apple is pursuing AI solutions to transform Siri.
The power of a macropad lies in its ability to execute these multi-step macros with minimal effort, significantly reducing the time spent on repetitive actions and allowing you to focus on more complex, creative tasks.
Choosing Your Hardware: Spare Keyboards and Numpads
The beauty of this project is its flexibility regarding hardware. You likely already own suitable devices.
Spare Keyboard
Any USB or Bluetooth keyboard can serve as a macropad. However, some characteristics make certain keyboards more ideal:
- Mechanical Keyboards: Often preferred due to their individual, programmable keys and satisfying tactile feedback. Many modern mechanical keyboards, especially custom ones, support advanced firmware like QMK/Via (discussed below), offering deep customization options.
- Compact Keyboards: Tenkeyless (TKL) or 60% keyboards can be excellent choices if you want a smaller footprint dedicated to macros.
- Standard Full-Sized Keyboards: If you have an old full-sized keyboard, you can effectively use its entire numeric keypad section (the Numpad) or even the function row for macros, leaving the main alphanumeric keys for regular typing.
Standalone Numpad
A dedicated numeric keypad is arguably the most convenient option for a macropad. These small, often inexpensive devices offer a compact layout of 17-20 keys, perfect for a focused set of macros. They are readily available from various manufacturers, both wired and wireless. The Epomaker EK21, as mentioned in the prompt, is a great example of a compact numpad that supports Via for direct macro programming, making it an excellent choice for users seeking deep customization without extra software layers.
Considerations When Choosing Hardware:
- Wired vs. Wireless: Wired connections are generally more reliable for continuous use and don't require batteries. Wireless (Bluetooth) offers greater flexibility in placement but might introduce slight latency or battery management concerns.
- Programmability: Some keyboards and numpads come with their own software for direct key remapping or macro creation. While useful, the third-party macOS software discussed later often provides more extensive and flexible options, even for devices without native programmability.
- Key Feel: If you're going to be hitting these keys frequently, choose a device with a comfortable key feel that you enjoy using.
Essential Software for Macropad Creation
The software is where the magic truly happens, enabling your spare hardware to become a powerful macropad. macOS has a robust ecosystem of third-party tools that can intercept keypresses and trigger custom actions. Here are the top contenders:
Karabiner-Elements: The Remapping Powerhouse
Karabiner-Elements is a free and open-source utility that excels at remapping keys and creating complex modifications. Its power lies in its ability to handle "complex modifications" using JSON rules, allowing you to define highly specific behaviors. Crucially, Karabiner-Elements can identify and target specific devices, meaning you can remap keys on your external numpad without affecting your primary keyboard. This makes it an ideal choice for a dedicated macropad.
How Karabiner-Elements helps:
- Device Specificity: You can configure rules that apply only when input comes from your spare keyboard or numpad. This is vital for preventing conflicts with your main keyboard.
- Simple Remapping: Easily change a key like '1' on your numpad to act as 'F13' (a key not typically found on compact keyboards, making it a safe macro trigger).
- Complex Modifications: Beyond simple remapping, Karabiner can execute sequences, conditional actions, and even run shell commands. For example, press 'Numpad 1' to trigger 'Option+Command+Shift+R', which then launches a specific AppleScript or workflow.
Karabiner-Elements is often the first step for many macropad enthusiasts due to its robust key remapping capabilities and the ability to isolate specific input devices.
BetterTouchTool: Automation Beyond Key Presses
BetterTouchTool (BTT) is a paid, but incredibly versatile, utility that goes far beyond simple key remapping. While it can certainly handle keyboard input, its strength lies in its ability to trigger actions based on trackpad gestures, Magic Mouse gestures, Touch Bar buttons, and, critically for our purpose, specific key presses from any connected device. BTT allows you to create highly customized actions, from opening applications to running AppleScripts, pasting text, and simulating complex key combinations.
How BetterTouchTool helps:
- Diverse Triggers: Assign macros not just to single keys but also to key combinations, sequences, or even double-taps on specific keys.
- Rich Action Library: BTT boasts an extensive library of predefined actions, including app control, window management, text manipulation, and system commands.
- Conditional Logic: You can set actions to run only when certain applications are active, allowing for context-aware macros. For example, 'Numpad 1' could launch a brush preset in Photoshop but paste a specific URL in Safari.
- Script Execution: Easily integrate AppleScripts or shell scripts for even more powerful automation.
BTT is perfect for users who want a graphical interface to build their macros and leverage a wide array of actions, making it an excellent companion or alternative to Karabiner-Elements.
Keyboard Maestro: The Macro Maestro
Keyboard Maestro (KM) is widely regarded as the most powerful and comprehensive macro automation tool available for macOS. While it has a steeper learning curve and is a paid application, its capabilities are virtually limitless. If you envision complex workflows, conditional actions, or advanced scripting, Keyboard Maestro is your ultimate solution. It's perfect for power users who want to automate almost every aspect of their digital life.
How Keyboard Maestro helps:
- Sophisticated Workflows: Create multi-step macros with pauses, conditional branches (if-then-else), loops, and error handling.
- Application-Specific Macros: Define macros that only trigger when a specific application is frontmost, ensuring context-relevant automation.
- System-Wide Control: Launch applications, open files, manipulate windows, control iTunes/Spotify, and interact with web pages.
- Clipboard Management: Enhance your clipboard with multiple entries, making it easy to paste frequently used items.
- Script Integration: Seamlessly run AppleScripts, shell scripts, Python, or JavaScript within your macros.
For a DIY macropad, you would typically use Karabiner-Elements to remap a unique key (like F13-F19) from your numpad, and then use Keyboard Maestro to associate that unique key with a complex macro. This combination offers unparalleled power and flexibility for your automation needs.
QMK/Via: Firmware-Level Customization (for specific keyboards)
If your spare keyboard or numpad is a custom mechanical keyboard or a commercially available one that supports QMK (Quantum Mechanical Keyboard) firmware or its graphical configurator, Via, you have the most powerful and direct form of customization. QMK/Via allows you to program macros directly onto the keyboard's firmware. This means the macros are stored on the device itself, making them independent of the operating system and usable on any computer you connect the keyboard to.
How QMK/Via helps:
- Hardware-Level Macros: Macros are executed directly by the keyboard, reducing reliance on macOS software.
- Layers: Create multiple "layers" of keymaps, allowing you to assign even more functions to the same physical keys. For example, a "default" layer for numbers and a "macro" layer activated by holding a specific key.
- Advanced Features: Beyond basic macros, QMK supports features like tap-dance (different actions for tapping vs. holding a key), one-shot modifiers, leader key sequences, and more.
- Via Compatibility: If your board supports Via (like the Epomaker EK21), you can configure and flash new keymaps and macros in real-time through a simple web-based or desktop application, without needing to compile code.
While QMK/Via offers the ultimate control, it requires a compatible keyboard and a slightly steeper initial learning curve if you're not familiar with flashing firmware. However, for those with the right hardware, it's an incredibly rewarding path to a truly custom macropad.
Step-by-Step Setup Guide for Your Macropad
Here's a general workflow for setting up your DIY macropad, combining the power of the software tools:
-
Connect Your Hardware: Plug in your spare keyboard or numpad via USB. If it's Bluetooth, pair it with your Mac.
-
Install Karabiner-Elements: Download and install Karabiner-Elements from its official website. Grant the necessary accessibility permissions in System Settings.
-
Identify Your Device in Karabiner-Elements:
- Open Karabiner-Elements.
- Go to the "Devices" tab.
- You should see your primary keyboard and your newly connected spare device (e.g., "Generic USB Keyboard" or "Numpad"). Make sure the "Modify Events" checkbox is checked only for your macropad device.
-
Remap Keys to "Safe" F-Keys (Karabiner-Elements):
- Go to the "Simple Modifications" tab in Karabiner-Elements.
- Select your macropad device from the dropdown.
- Add a new rule: "From key" (e.g.,
numpad_1) to "To key" (e.g.,f13). Repeat for all keys on your macropad that you want to use. - Why F-keys? F13, F14, F15, etc., are rarely used on most keyboards and macOS doesn't have default shortcuts assigned to them, making them ideal, conflict-free triggers for your macros. This is a crucial step to avoid conflicts with your main keyboard's shortcuts or keys.
-
Choose Your Macro Software (BetterTouchTool or Keyboard Maestro):
- For BetterTouchTool:
- Install and open BTT.
- Go to "Keyboard Shortcuts" section.
- Click "Add New Shortcut."
- Press the "F" key you remapped in Karabiner (e.g., F13). BTT will detect it.
- Click "Add Action" and choose from BTT's extensive library (e.g., "Launch Application," "Paste Custom Text," "Run AppleScript").
- You can even set app-specific actions.
- For Keyboard Maestro:
- Install and open KM.
- Create a new Macro Group (e.g., "Macropad Macros") and set it to be active "Always" or "Only for specific applications."
- Create a New Macro.
- Add a "Trigger" (e.g., "Hot Key Trigger"). Press the "F" key you remapped in Karabiner (e.g., F13).
- Add "Actions" to your macro (e.g., "Open a File, URL or Application," "Type a Keystroke," "Execute AppleScript," "Insert Text by Typing").
- Build your desired sequence of actions.
- For BetterTouchTool:
-
Test Your Macros: Press the assigned key on your macropad and verify that the macro executes correctly. Debug and refine as needed.
This layered approach—Karabiner for device-specific remapping and BTT/KM for macro execution—provides the most robust and flexible macropad setup on macOS. It's a testament to the power of macOS's customization capabilities, even in the face of legal challenges like Apple's ongoing antitrust lawsuit with the DOJ or Proton's lawsuit challenging Apple's App Store dominance, which highlight the importance of open and customizable software ecosystems.
Practical Use Cases for Your Macropad
The applications for a macropad are limited only by your imagination. Here are some ideas to get you started:
-
General Productivity:
- Launch frequently used applications (e.g., Safari, Mail, Slack).
- Paste common text snippets (email signatures, code blocks, boilerplate responses).
- Toggle system settings (Wi-Fi, Bluetooth, Do Not Disturb).
- Manage windows (move to specific display, resize, close).
- Trigger complex search queries or open specific URLs.
-
Creative Professionals (Video Editing, Photo Editing, Music Production):
- Execute complex sequences of commands (e.g., "Apply noise reduction," "Export as ProRes," "Group layers," "Quantize MIDI").
- Switch tools or brushes quickly.
- Apply presets or filters.
- Navigate timelines or artboards efficiently.
-
Developers:
- Run build commands.
- Open specific project folders in your IDE.
- Insert code snippets.
- Trigger Git commands (commit, push, pull).
- Run tests.
-
Streaming/Content Creation:
- Switch scenes in OBS/Streamlabs.
- Mute/unmute microphone.
- Start/stop recording or streaming.
- Trigger sound effects or animations.
- This is where the Stream Deck shines, but a DIY macropad can replicate much of its core functionality.
-
Everyday Tasks:
- Lock your screen.
- Empty the trash.
- Take a screenshot of a specific area.
- Control media playback (play/pause, next track, volume).
- Even automate responses to scams, though users should always be wary of links like those in the Urgent iPhone Alert: New UPS Text Scam.
Benefits and Limitations of a DIY Macropad
Benefits:
- Cost-Effectiveness: The primary advantage. Repurpose existing hardware or buy an inexpensive numpad instead of a costly dedicated macropad.
- High Customizability: With powerful software like Karabiner-Elements, BetterTouchTool, and Keyboard Maestro, you have granular control over every aspect of your macros and key remapping. You're not limited by the manufacturer's software.
- Repurposing: Give new life to old, unused keyboards, contributing to less electronic waste.
- Learning Opportunity: Delving into these powerful macOS utilities can significantly enhance your overall understanding of system automation and scripting, making you a more efficient Mac user in general.
- Portability (with QMK/Via): If your device supports QMK/Via, your macros are stored on the hardware itself, meaning they work on any computer without needing specific software installed on the host.
Limitations:
- Learning Curve: While the basic setup is straightforward, creating advanced macros with conditional logic or scripting can require some dedication and experimentation.
- No LCD Keys: Unlike the Stream Deck, your DIY macropad keys won't have dynamic labels. You'll need to remember your assignments or create physical labels for the keys.
- Software Dependence: Unless your device uses QMK/Via, the macros rely on the background software running on macOS. If the software isn't active, your macropad won't function as intended. This is why tools like Karabiner-Elements need specific permissions within macOS system settings, highlighting the kind of security controls Apple implements, as seen when Apple Denies EU Full iOS 26 Features for certain reasons.
- Potential for Conflicts: Without careful configuration (especially using Karabiner-Elements' device specificity), your macropad mappings could inadvertently affect your main keyboard.
Conclusion
Transforming a spare keyboard or numpad into a powerful macropad is an incredibly rewarding and cost-effective project for any macOS user looking to boost their productivity. While the convenience of a dedicated Stream Deck is undeniable, the flexibility, deep customization, and financial savings offered by a DIY solution often outweigh its perceived simplicity. By leveraging the combined power of tools like Karabiner-Elements, BetterTouchTool, and Keyboard Maestro, you can craft a personalized automation hub tailored precisely to your unique workflow. Whether you're a creative professional, a developer, or simply someone who wants to reclaim precious seconds from repetitive tasks, your old peripherals hold the key to unlocking a new realm of efficiency on your Mac. Dive in, experiment, and prepare to be amazed at how much more you can accomplish with just a few strategic keypresses.


